Push Notifications
In this tutorial, we'll demo the built-in push notification feature of Medable. The setup involves a 4-step configuration:
- Generate PEM file
- Enable Medable Push Notifications
- Send Medable Push
- Xcode Setup
Generate PEM file
Start by navigating to developer.apple.com
Go to "Certificates, Identifiers & Profiles" -> "Identifiers" -> "App IDs"
Select your app ID -> Click Edit -> Enable Push Notifications -> Under Development SSL Certificate, Click Create Certificate
Follow Apple's instructions to create a certificate named Apple Development IOS Push Services: <<App ID Here>> in your Keychain Access app
Right click on this certificate and select the export option

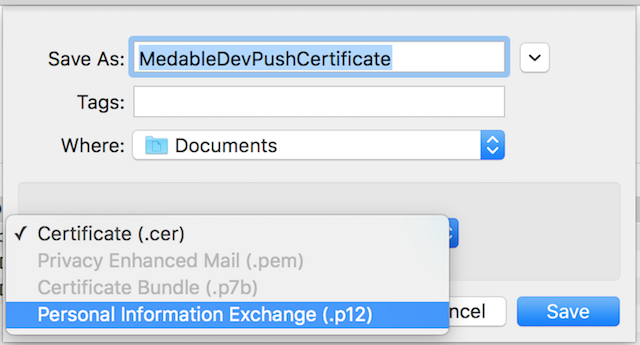
Name it something like MedableDevPushCertificate -> Change format to .p12 -> Click Save
If you don't see the .p12 option in the dropdown, navigate to the "Certificates" section in the left navigation and right click on the certificate from there
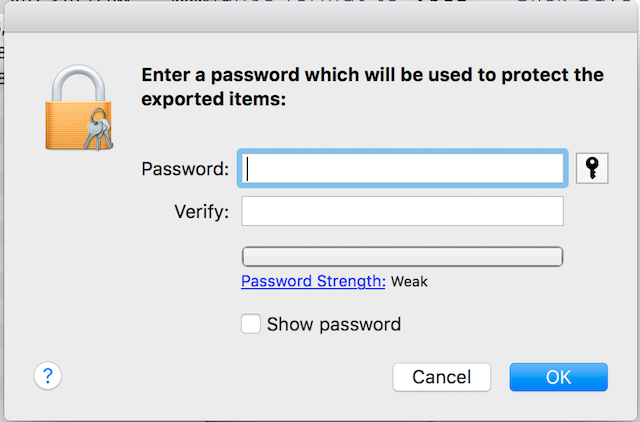
It will prompt you to enter a password - DO NOT enter any password - simply click OK with the fields empty
Open Terminal -> cd into the folder that contains MedableDevPushCertificate.p12 -> copy paste the following command
$ openssl pkcs12 -in MedableDevPushCertificate.p12 -out MedableDevPushCertificate.pem -nodes -clcerts
IMPORTANTDO NOT enter a password when prompted after issuing the above command in the terminal - just press enter to continue
Open MedableDevPushCertificate.pem in the text editor of your choice, from the Terminal or Finder
You should see a bunch of mumbo jumbo clearly delineated by -----BEGIN CERTIFICATE----- and -----END CERTIFICATE----- and -----BEGIN RSA PRIVATE KEY----- and -----END RSA PRIVATE KEY-----
Congrats! Part 1 is done. But keep this .pem file open - we'll be copy pasting some of this into your Medable App Settings
If you're having trouble getting to this point, there's a more detailed guide here if you scroll down to "Creating an SSL Certificate and PEM file"
Enable Medable Push Notifications
- Go to your Medable Admin Portal- app.dev.medable.com/{{your org code}}
- Settings => Apps => Select your app
- Check
APNs Debug Gateway Option- only do this if you're inputting a development certificate. - Copy everything from begin certificate to end certificate (including markers) into the
APNs Certificatefield - Copy everything from begin RSA private key to end RSA private key (including markers) into the
APNs Private Keyfield
Send Medable Push
Remember that in this example, we'll be sending a push notification once a user logs in successfully. Create a trigger script to achieve this behavior.
Create a custom notification by going to Settings -> Notifications -> Custom Notifications -> New Notification
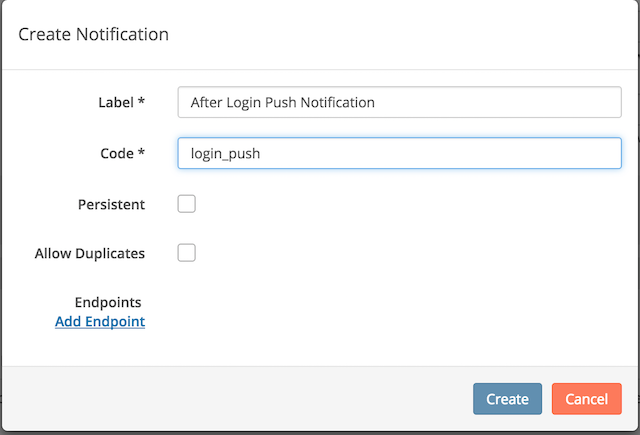
Click Add Endpoint
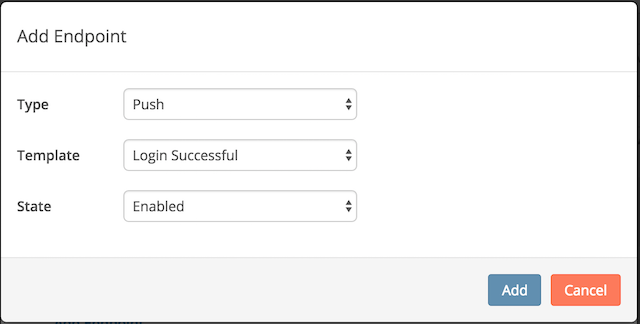
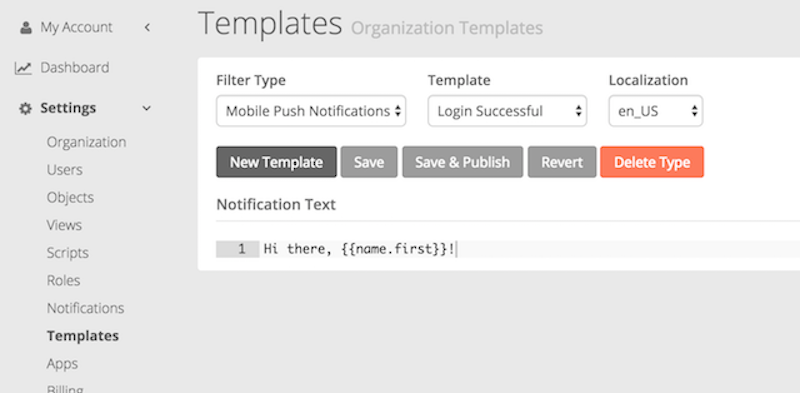
By the way, I selected a custom Login Successful template I created in the Settings -> Templates tab
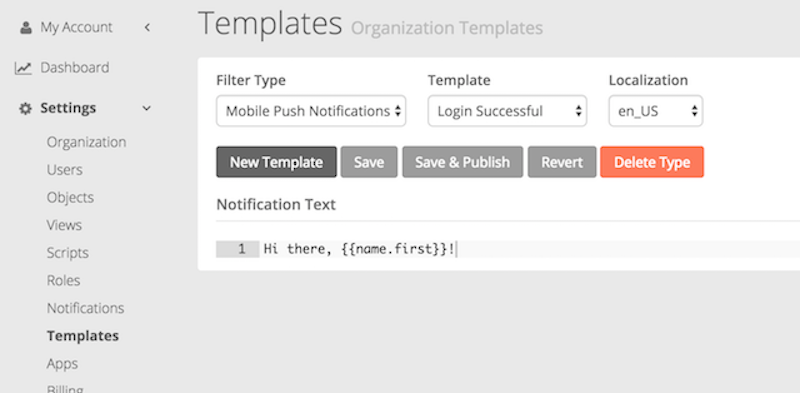
Create the custom notification with the Push Notification Endpoint and now you can send trigger this notification in your custom script.
- Go to Settings -> Scripts -> New Script
- Create a trigger than runs upon Account login
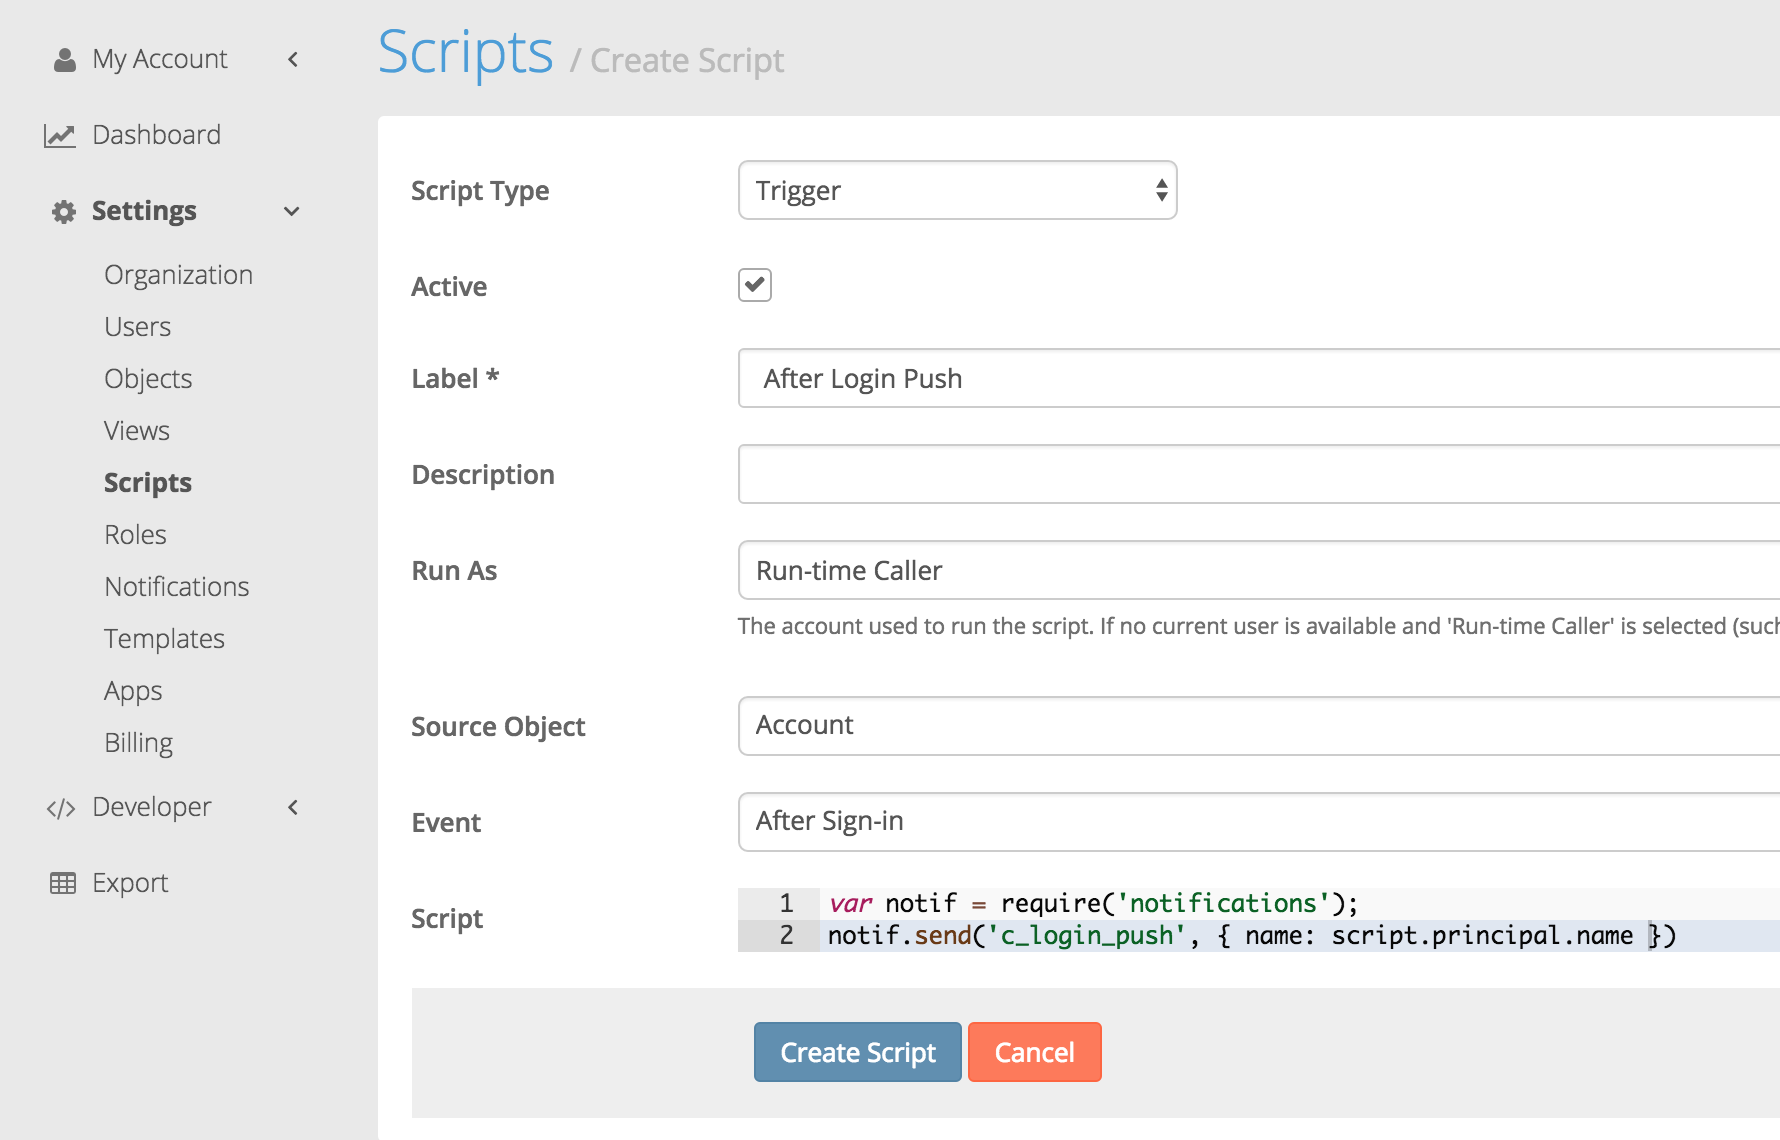
Note a few things here:
The notification code corresponds to the custom notification we created.
The name set to the principal's name in order to be able to use it in the notification template to personalize the message with the receiver's name.
A third parameter can be set in the notif.send() function to specify who gets the push notif. But if not, it will default to whoever is the run-time caller.
Xcode Setup
Xcode 8 makes it easier than ever to enable push notifications on your project. If you followed instructions correct to this point, you shoud just be able to switch on Push Notifications in the Capabilities section of your project settings.

Now navigate to your Project Settings and uncheck the Automatically manage signing option. We'll upload a provisioning profile specific to this app instead. We didn't cover how to get a provisioning profile from the apple dev center but you can find instructions on how to do this from other online resources.

Ensure that your device is registered under this provisioning profile. This is done by going to developer.apple.com -> Devices -> click + button -> specify name and UDID of device -> click register. Then select this device when creating your provisioning profile.
Setting up your application to receive push notifications is simple. Just a few more lines of code to our existing tutorial project that already has registration and login built in.
In the App Delegate after application has launched, let's request permission from the user to send push notifications
let center = UNUserNotificationCenter.current()
center.requestAuthorization(options: [.alert, .sound]) { (granted:Bool, error:Error?) in }
application.registerForRemoteNotifications()
In order for UNUserNotificationCenter to function, we need to
import UserNotificationsat the top of the AppDelegate
Once permission is granted, let's send the device token to Medable so the system knows where to send the push notifications.
func application(_ application: UIApplication, didRegisterForRemoteNotificationsWithDeviceToken deviceToken: Data) {
    Medable.client().setPushNotificationToken(deviceToken)
}
If the push notification is received while the user isn't using the app, the device will show the alert text on the lock screen or as a popup banner. But if the user is in the app, a separate AppDelegate function gets called:
func application(_ application: UIApplication, didReceiveRemoteNotification userInfo: [AnyHashable : Any], fetchCompletionHandler completionHandler: @escaping (UIBackgroundFetchResult) -> Void) {
    print(userInfo)
}
Run the app and login. In seconds, you'll receive a push notification logged in your console. Lock your device, login from the web console and you'll see the push notification show up on your device's lock screen.
First Push Notification Successful
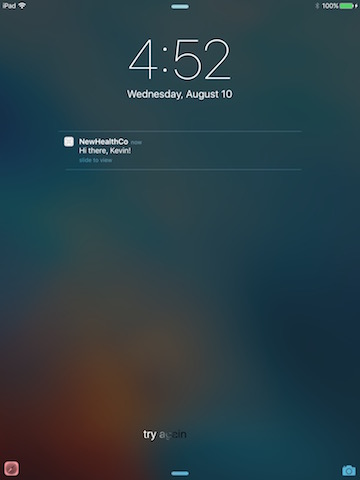
Nice job!
Updated 4 months ago